I know it’s time to revamp and give my paper quilling board a makeover when I have to start editing my tutorials for all the pinholes around the designs I am making!
I was starting a new project a few days ago and thought I better fix up my board first, and I might as well take photos to show you how I do it!
I have actually had this same quilling board for 18 years!! I bought it in my first year of college, when I was 18 years old. Talk about long lasting! It still has a lot of life left in it as well. I like it because it is a nice big size. I usually have a few projects going on the board at the same time when it is jewelry.
So here is my board when it’s time to fix it up. It is FULL of pinholes. It also has glue blobs, pen scribbles, etc. in various spots.
First I take off the plastic cover, and remove the white pinholed papers. Now it looks all bare! If you look closely at it you can still see the pinholes in the corkboard. I have some big holes on the edge because I repeatedly use the same holes to store my pins. All the other holes around the board are smaller. The board is still strong yet flexible, and has not chipped apart or anything, so it’s definitely good quality corkboard!
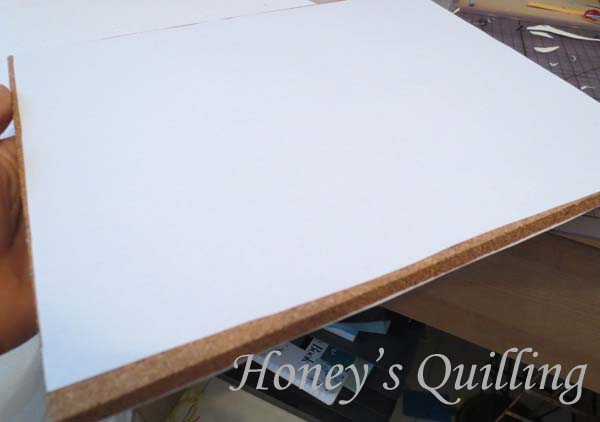
Time to fix it up! First I trim two pieces of paper, one for each side of the board (that way, when one side is too messed up you can just turn it over and use the other side before having to fix up the board again!)
Then slide the board (with the paper on each side) into a sheet protector. It can be any quality – the thinner ones are actually easier than the heavy duty ones since you have to be able to poke a pin through it. But if all you have around the house are the heavy duty ones, those will work as well. You could also just pin a sheet of wax paper or any type of plastic sheet on top of the board, but I’ve found the sheet protector the easiest thing to use!
All suited up! Notice how the sheet protector is a bit too long, though.
So I trim it off!
Now the nice thing is that you can keep that one side open and use it to slide patterns, guides, etc. under the plastic!
Looking for a quilling cork workboard?
This one from Lake City Craft is the one that I have. I like the size! This is also available at Custom Quilling.
this one is from Quilled Creations and my daughter, Svara, uses this one. The grid on it is very handy! You’d have to use smaller sheet protectors
for it, though. The board is also available at Custom Quilling.
This one has a dense foam board with a nice guide, is a nice big size (a regular size sheet protector will work), and comes with a removable circle sizing guide that you can choose to place on top of the board or not. This is also available at Custom Quilling.
You don’t even have to buy something specially for quilling – any cork board will do. Just make sure it is thick enough! My workboard is 3/8″ thick. If it is thinner than that, you risk the pins poking out the backside too often. Ouch! It is tricky to buy online because you usually have to buy a lot. This double pack from Elmer’s looks like a good deal – you can save one to make large designs with, and cut the other one up for several smaller boards. If you have friends who are new to quilling this is a great way to share cork to make boards! You can check in your local craft and stationary shops as well to see what they have. Just pay attention to how thick it is!
Stick around, there is lots more to see on the blog!
- Click here to view free paper quilling tutorials!
- Click here to view paper quilling tips and tricks!
- Click here to view a list of places to buy quilling supplies around the world!
- Click here to view some of my own quilling projects, with tips so you can make your own if you’d like!
*This post contains some affiliate links. If you purchase products through the affiliate links I get a small percentage (at no extra cost to you!). I only link to products that I believe in and/or love to use myself. Thank you for supporting my blog!


Is it possible to glue two 1/4″ tiles together or would the glue in the middle make pins become messy?
Hm…. good question. I’ve never tried it. I don’t think the glue in the middle would make it messy, as it would be dry, but it might make it hard for the pin to go through.